SPONSORED
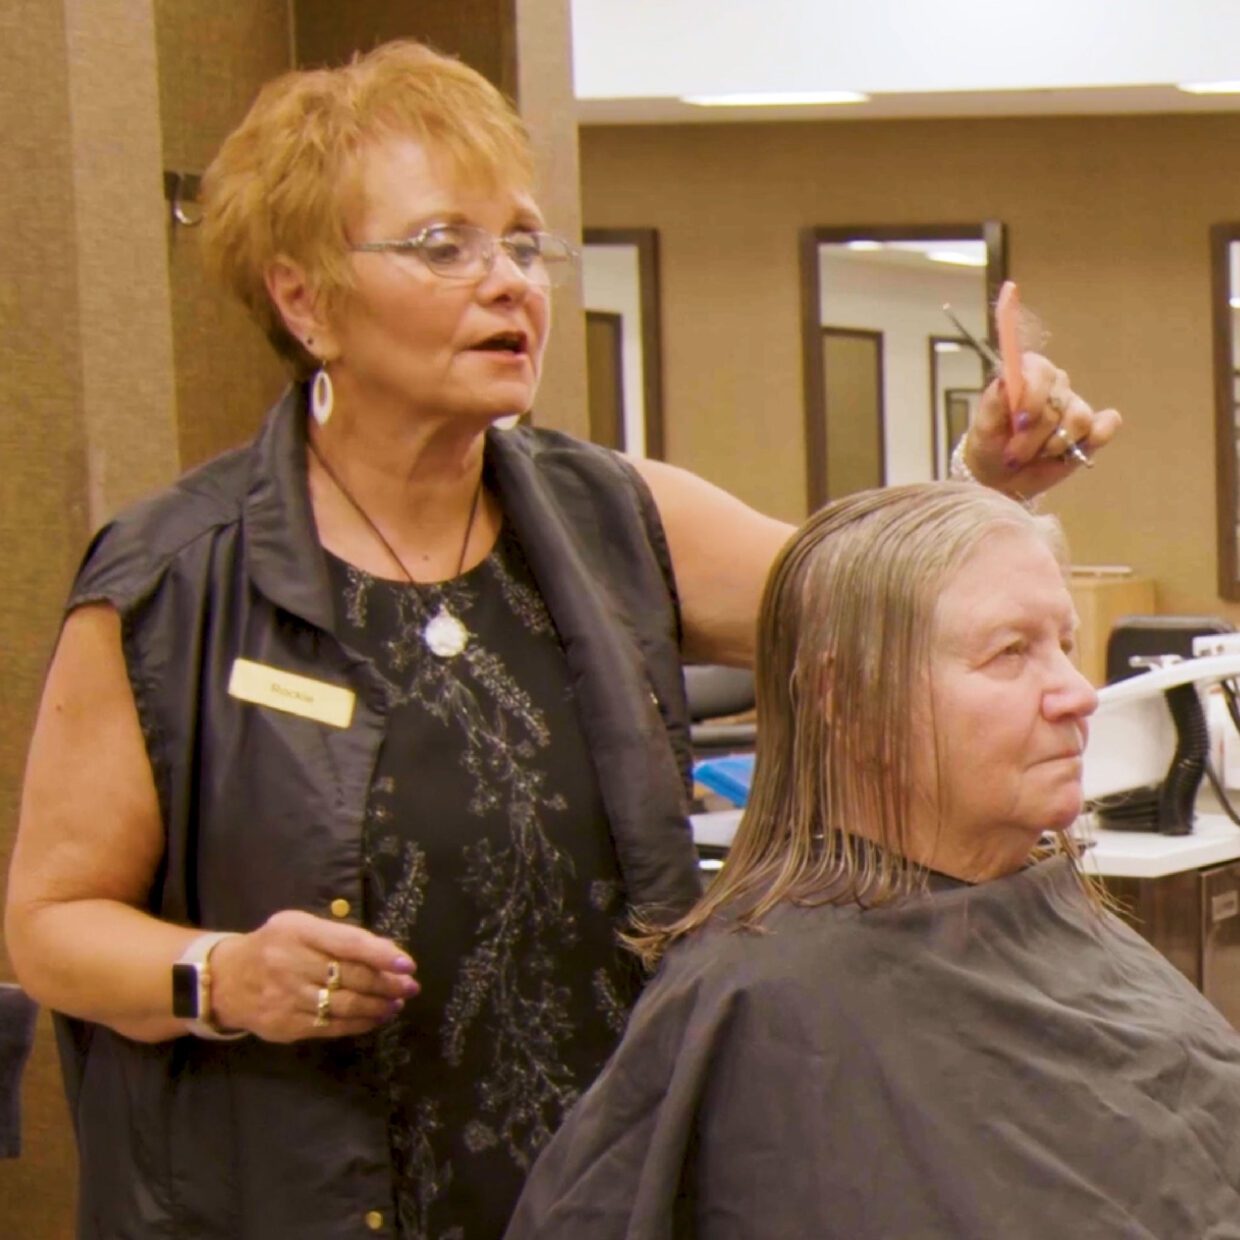
Sometimes all a client needs to boost their mood is a trim and a blowout. JCPenney Salon 15 year veteran Rookie Ondrey-Prete knows this better than anyone. The Master Stylist (and nail tech!) has perfected the entire cut and style experience for her long-time clients and The Tease team was lucky enough to document it.
Keep scrolling for her tested step-by-step, including product recommendations!
The Shampoo Experience
- Step 1: Prep
- “I always like to put a towel in the sink so that it’s softer for them to lay back on. Ask the client the temperature, water temperature, because you never know. Some people like it really warm, some people don’t like it hardly warm, so I want it to be a comfortable experience for them.”
- Step 2: Shampoo
- “I’m using a normalizing shampoo first that kind of equals out. From the oils and stuff, it’s from oily to normal hair.” (Editor’s note: Ondrey-Prete used Biolage Clean Reset Shampoo.)
- Step 3: Shampoo again
- “I’m using something called So Silver. And it kind of helps if there’s any kind of yellowing to the hair. When I do conditioner, I kind of like to towel dry it just a little bit to get a lot of the moisture out of the hair. So I’ll just towel dry it just slightly.”
- Step 4: Condition
- “I like to start with the ends first, because that’s usually where the hair is the driest. It’s on the bottom here.”
The Trim
- Step 1: Prep
- “I usually get out two combs, because I usually drop a comb during a haircut. I’ve been doing this for 41 years, but I still drop a comb.”
- Step 2: Execute the cut
- “I’m gonna do something called an undercut. I’m gonna take this little section here and cut it just a little bit shorter than the above section. What that does is this top hair will cup over it, and so it’s not like flipping out.”
The Blowout
- Step 1: Prep the hair for heat styling
- “First, I’m going to use a little bit of root booster in her hair. And we just squirt this right at the scalp area. It gives it a little bit of volume at the base of the hair.
- I’m going to use something called Whipped Volume. It’s a bodifying mousse by Biolage. You don’t want to use anything super heavy on somebody’s hair that’s fine.
- And I also add just a little bit of this Super Skinny Serum that helps like with frizziness. I’m just going to put one little pump. I’m going to start with just a small section, work it through the hair. Even though I’ve worked it through with my fingers, I like to take my comb and comb it as well, and then that way it distributes it from the scalp to the ends.”
- Step 2: Start blow drying with a vented brush
- “I like to start out when the hair is a lot wetter like this with a vent brush because it’ll dry it a little bit faster. Your hair really doesn’t take on the shape of what brush you’re using until it’s about 80 percent dry anyway. So this just kind of helps allow the air to flow through a lot quicker and dry it a little faster.”
- Step 3: Begin blow drying with a round brush
- “I’ll go back when it’s just barely damp and round brush it and smooth it.
- So after I’m sure that like each layer is dry, then I go back with the cold shot, I call it, and do that on the hair.”
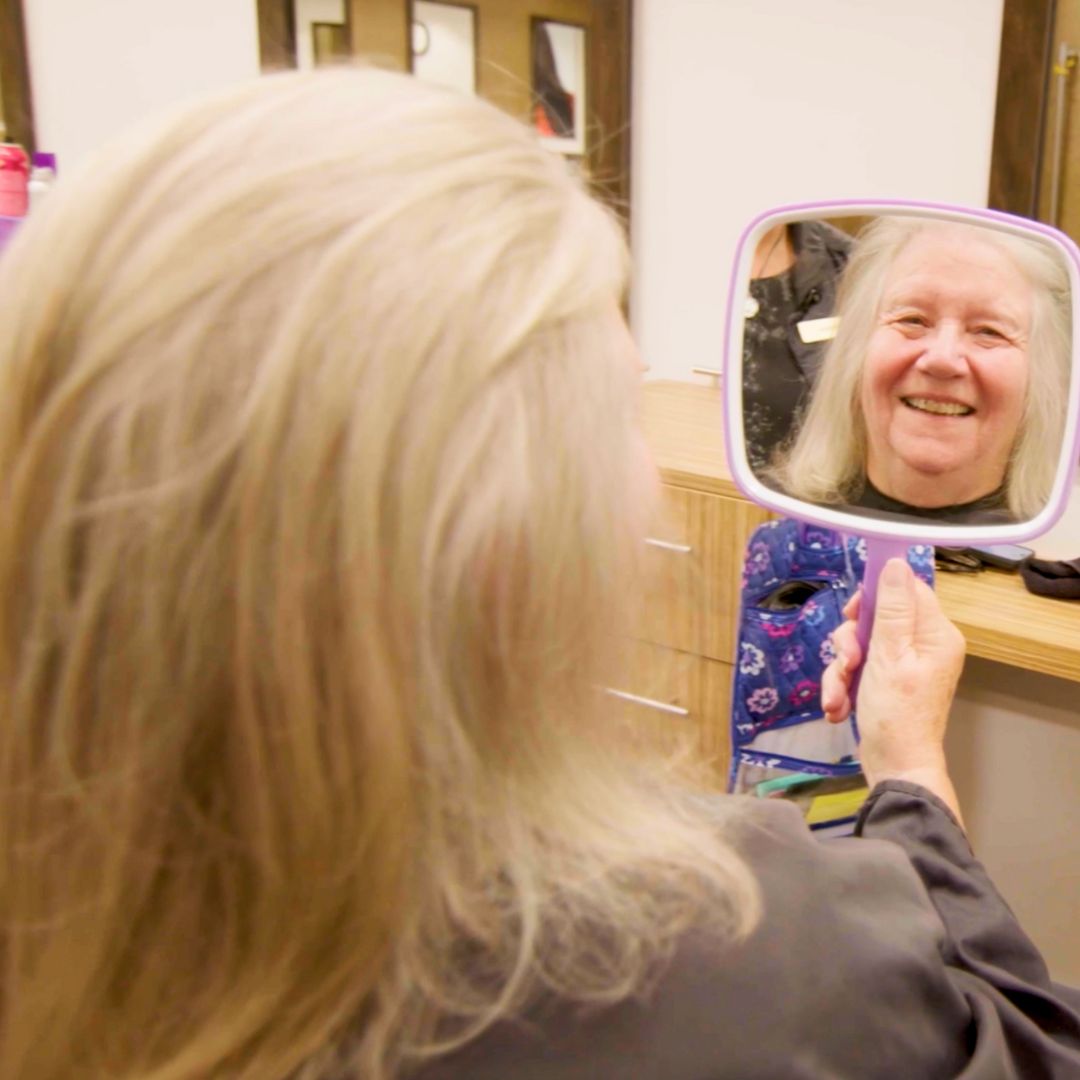
More of a visual learner? No problem — check out a full-length video how-to on our YouTube!
If a career at JCPenney Salon sounds like a fit for you, visit jobs.jcp.com to learn more!